Lode's FaceDrag Tutorial v1.0
In UEd v432 a new feature was added to the editor, called FaceDrag. There isn't any button for it, because it's still experimental, but I think it works great and I have written down my experience with it here.
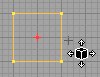
Add or substract a cube brush in your map, move the red brush away from it and select it.
Now, to activate the FaceDrag mode, enter "Mode FaceDrag" in the editor console, like this:
![]()
In the future, they'll add a button for this, I hope :)
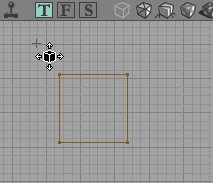
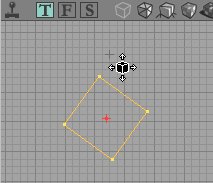
When you entered this, your mouse should look like this:
This tool is very versatile: you can resise, skew, move, rotate, select and a weird combination of skewing and stretching with it!
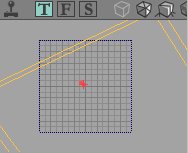
Go to any 2D view. When you press CTRL + Left Mouse Button, one of these operations will happen, depending on the position your cursor is at, and the direction you move your mouse.
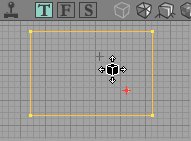
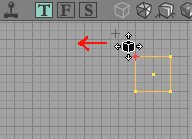
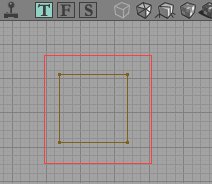
For the position of your cursor, you should in your mind divide the 2D view into 9 different zones, like this:
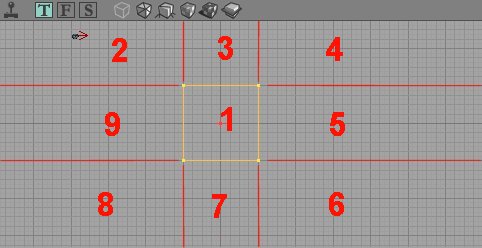
In the screenshot above, the yellow square is your cube brush, and the red lines are painted by me to show the borders of the 9 zones.
In each zone, you can move drag mouse into 4 different directions (up/down/left/right), so there is a total of 36 operations. I will divide the operations into Moving, Stretching/Shrinking, Skewing and the weird combination of Stretching and Skewing. After that, I'll also tell something about Rotating and Selecting with this tool.
Moving:
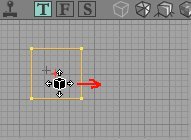
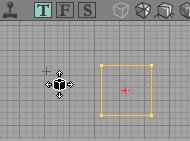
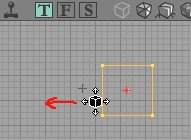
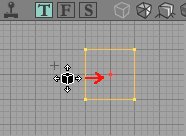
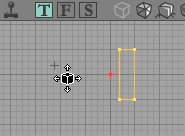
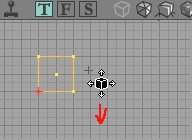
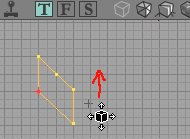
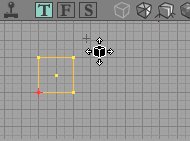
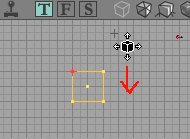
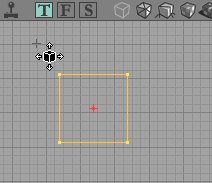
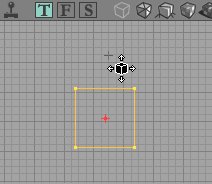
With this tool, you can only move the brush when your mouse is in Zone 1, this means if it is inside the brush. Place your cursor there, press and hold CTRL + Left Mouse Button and drag to left, right, up or down to move the brush in that direction.
The red arrow on the screens indicates the direction to which I dragged the mouse.
 ---->
----> 
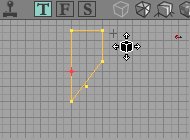
Stretching:
When your mouse cursor is outside the brush at a certain side, you will be able to stretch or shrink that side. The stretching will only work if you move your mouse into the correct direction: if your mouse is on the left side of the brush, you have to move your mouse to the left to stretch and to the right to shrink. When your mouse is above the brush, you have to move your mouse up to stretch and down to shrink it, etc... Otherwise you will skew it.
You can stretch it in two ways:
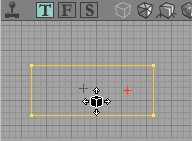
-When your mouse is in zone 3, 5, 7 or 9, this means if it is between the two vertices of the side, it will be stretched or shrinked in the way you would expect it, like you can see on the screens:
 ---->
----> 
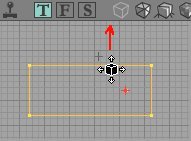 ---->
----> 
 ---->
----> 
Skewing:
When your mouse cursor is outside the brush at a certain side, in zone 3,5,7 or 9, you will also be able to skew that side. The skewing will only work if you move your mouse into the correct direction: if your mouse is on the left side of the brush, you have to move your mouse up or down. When your mouse is above the brush, you have to move your mouse to the left or the right, etc... Otherwise you will stretch or shrink the brush.
 ---->
---->  ---->
---->  ---->
----> 
Note that, when stretching, shrinking or skewing, all sides are affected, except the opposite side (this means if your mouse is on the right side of the brush, the left side will remain fixed on its position)
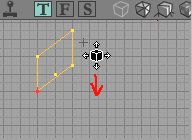
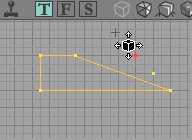
A weird combination of Stretching and Skewing:
When your mouse is in zone 2,4,6 or 8 (this means ouside the vertices of the closest side), the brush will be stretched in the direction you move the mouse, but one vertex will remain fixed on its place, so the opposite side of the brush will become diagonal. You can see this more clear on the screens:
Series
1: Dragging the mouse up and down. Now the brush will not be skewed as on
the screens in the previous section,
but do something weird. That's because your mouse cursor is much higher.
 ---->
---->  ---->
----> 
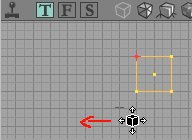
Series
2: Dragging to the left with the mouse above the brush
 ---->
----> 
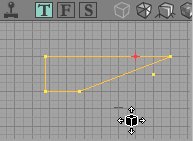
Series
3: Dragging to the left with the mouse below the brush
 ---->
----> 
Selecting:
With all the other tools of the editor, you can select a brush by left clicking on it, but with this experimantal tool it doesn't work this way. However if you want to select a brush without having to select another tool again, there is a way around this: drag a box around the brush using CTRL + ALT + Left Mouse + Drag. After you dragged the box, everything inside it will be selected (this works also with all the other tools).
 ---->
---->  ---->
----> 
Rotating:
You can rotate the selected brush by using CTRL + Right Mouse + Dragging left or right. Each 2D view lets you rotate it in another direction. (this also works with the default move tool)
 ---->
----> 
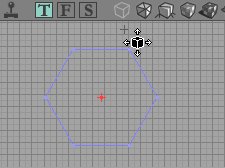
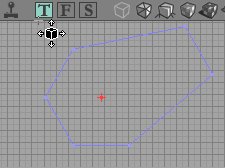
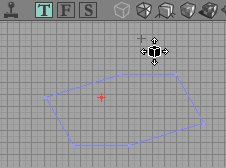
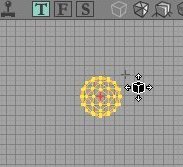
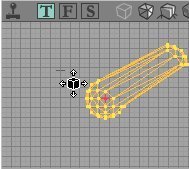
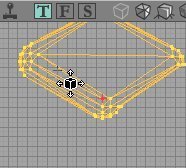
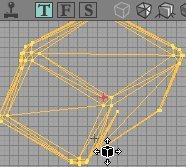
You can also use this tool on more complex brushes. With these brushes, the 9-zone system does not work anymore as there are much more than 4 sides. Most of the times, the way the brush will move is very intuitive.
 ---->
---->  ---->
----> 
 ---->
---->  ---->
---->  ---->
----> 
With this tool it is also possible to turn a brush inside out, by shrinking it too much; If you turn a cube inside out, all its polygons will have reversed sides, so the visible and invisible sides are swapped. This is very buggy and can even make the editor crash if you drag vertices over each other! If you are dragging and suddenly find the brush is only one line, and it doesn't want to become a cube anymore, no matter how you move the mouse, DO NOT loose the CTRL or Left Mouse key, or you will get a crash. Instead press the Delete key on your keyboard, and if you're lucky the broken brush will disappear.
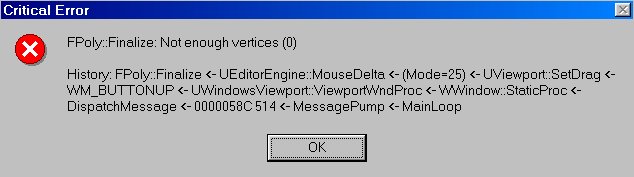
You should avoid this. Also situations like this should be avoided:
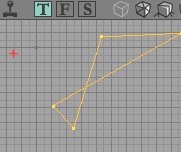
You can also make the most incredibly big brushes with this, but again you should avoid it:
This concludes Lode's FaceDrag Tutorial
Go to Lode's Unreal for more tutorials.
Contact me through email: https://lodev.org/contact.html
(c)2000-2001 Lode Vandevenne
Please do not upload this tutorial to any site, only make a link to https://lodev.org/unrealed/.Otherwise older versions keep hanging around on the net.